How to Change Your Minecraft Server Version
Why Would You Change Your Server's Version?
Many of us like to be on the most up-to-date version of Minecraft. When a new version comes out for Minecraft, you want to update your server so that you can get all the latest updates! In other cases, updating your Minecraft version can be helpful to those who want to install specific plugins that have not yet been released on newer builds.
How to Change Your Minecraft Server Version?
- Navigate to the game panel and go to your server’s console.
- Next, in the navigation bar, scroll until you see "Settings" and click on it.
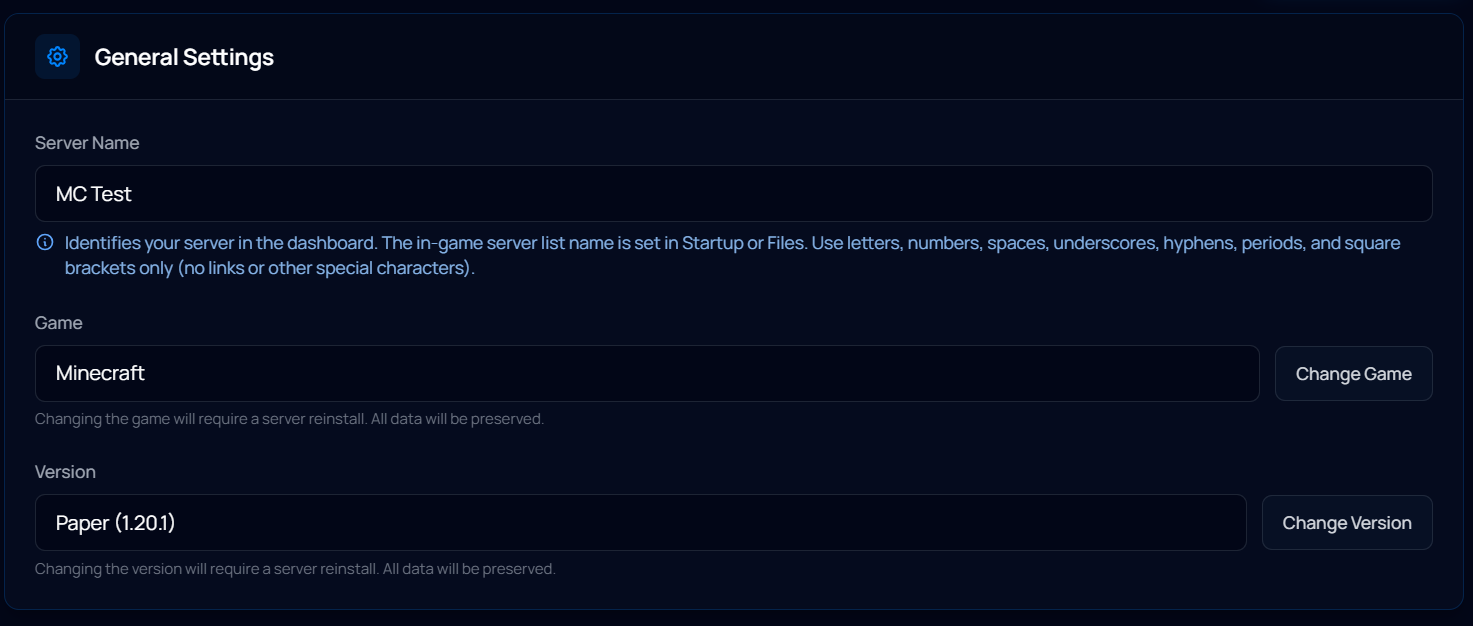
- Locate the "Game Version" box and click on "Change Version".
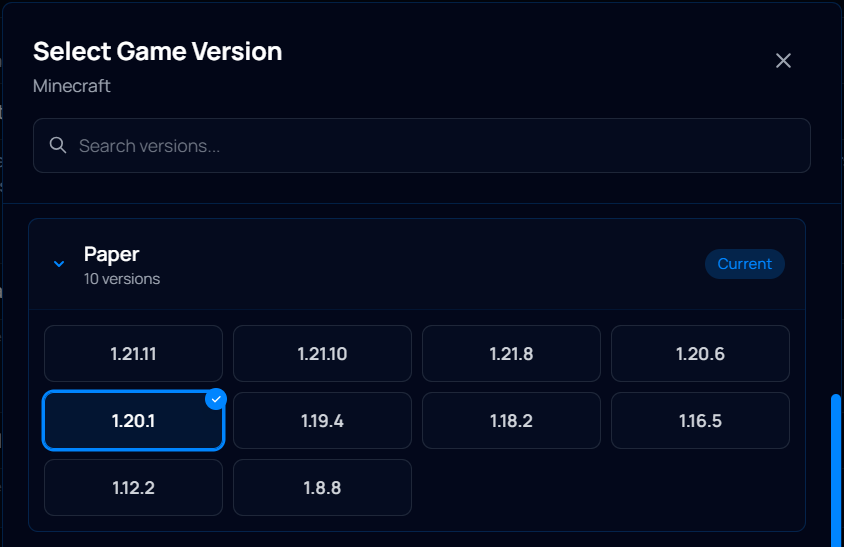
- Here you will see a list of the available versions, divided by categories, select one.
- A box will appear informing you that this will require a reinstall. Click "Change Version" when you're ready to proceed.
- Wait for the installation to finish.
Done! You have now installed a new Minecraft version. Boot up your server, and you're good to go!
Changing your Minecraft Server version through Iceline AI
The Iceline AI is a powerful tool included with our game servers that you can use to manage your server. Through a simple conversation, you can ask the AI to make any change for you!
To change your Minecraft version, simply ask the AI for the version you want to install or ask for the available versions. The AI will ask for your confirmation and install the version for you, simple as that!

Facing Any Issues?
Make sure that you have followed the tutorial step by step. If you are still facing issues after checking through the steps, you can always create a support ticket and we will respond within our business hours.
Start your own game server hosting today with Iceline Hosting.