How to Install Forge on Your Minecraft Server
What is Forge?
Forge is a modding API and loader that is created to allow community-created game mods to be used easily with Minecraft: Java Edition. While playing vanilla Minecraft is great, it can get boring quite fast. One of the best parts of Minecraft is the ability to mod it further than the normal Vanilla gameplay on your Minecraft server.
Whether you are adding mods for custom mobs, new maps, or just a new type of game type, mods will always require Forge. A lot of the fun mod packs you see floating around, such as RLCraft, are actually using Forge to run correctly.
In this guide, we will be explaining how you can install Forge on your Minecraft server.
How to Install Forge
- Head to your Iceline Game Panel and stop your Minecraft server.
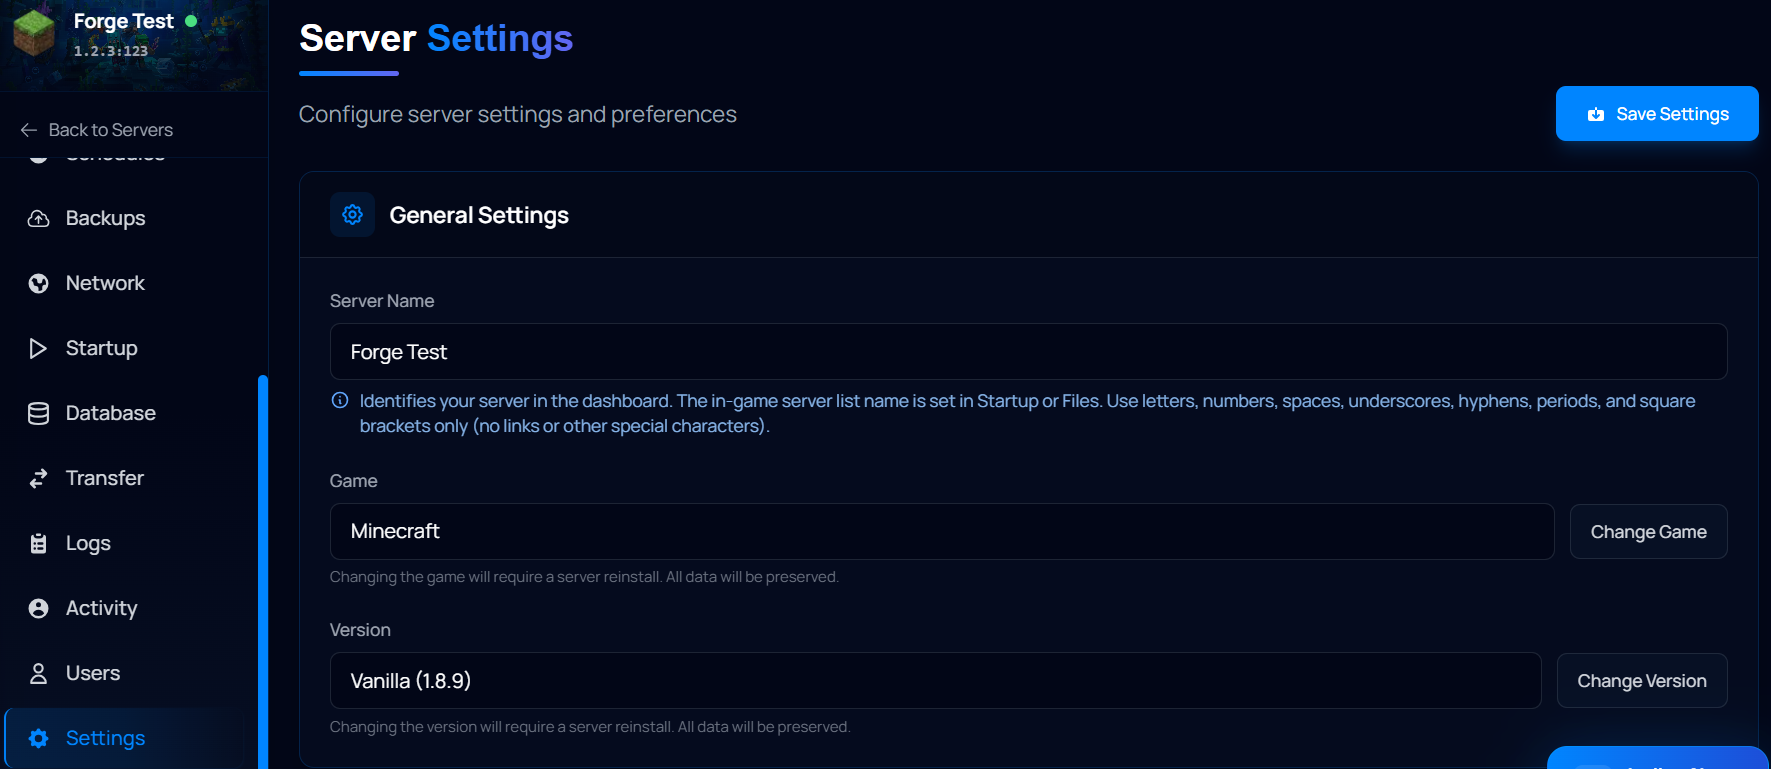
- In your navigation bar, locate “Settings”.
- Locate the "Version" box and click on "Change Version".
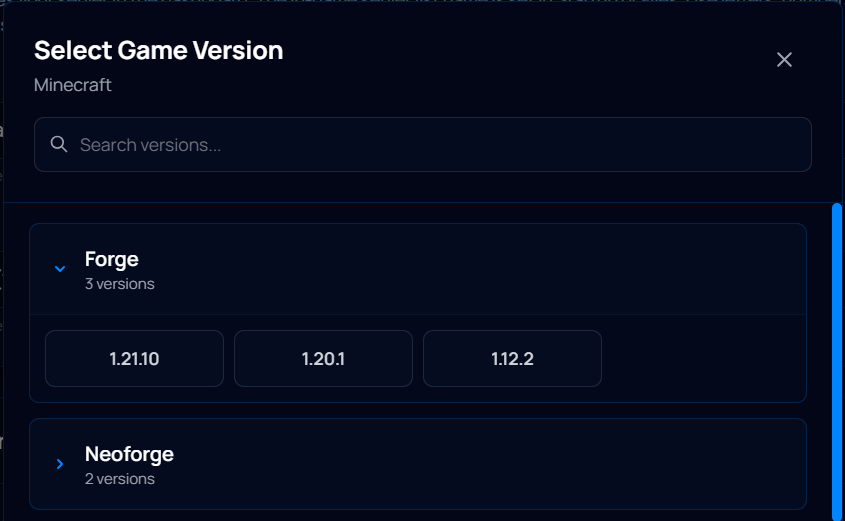
- Select the Forge version you want to use.
- A box will appear informing you that this will require a reinstall. Click "Change Version" when you're ready to proceed.
- Wait for the installation to finish.
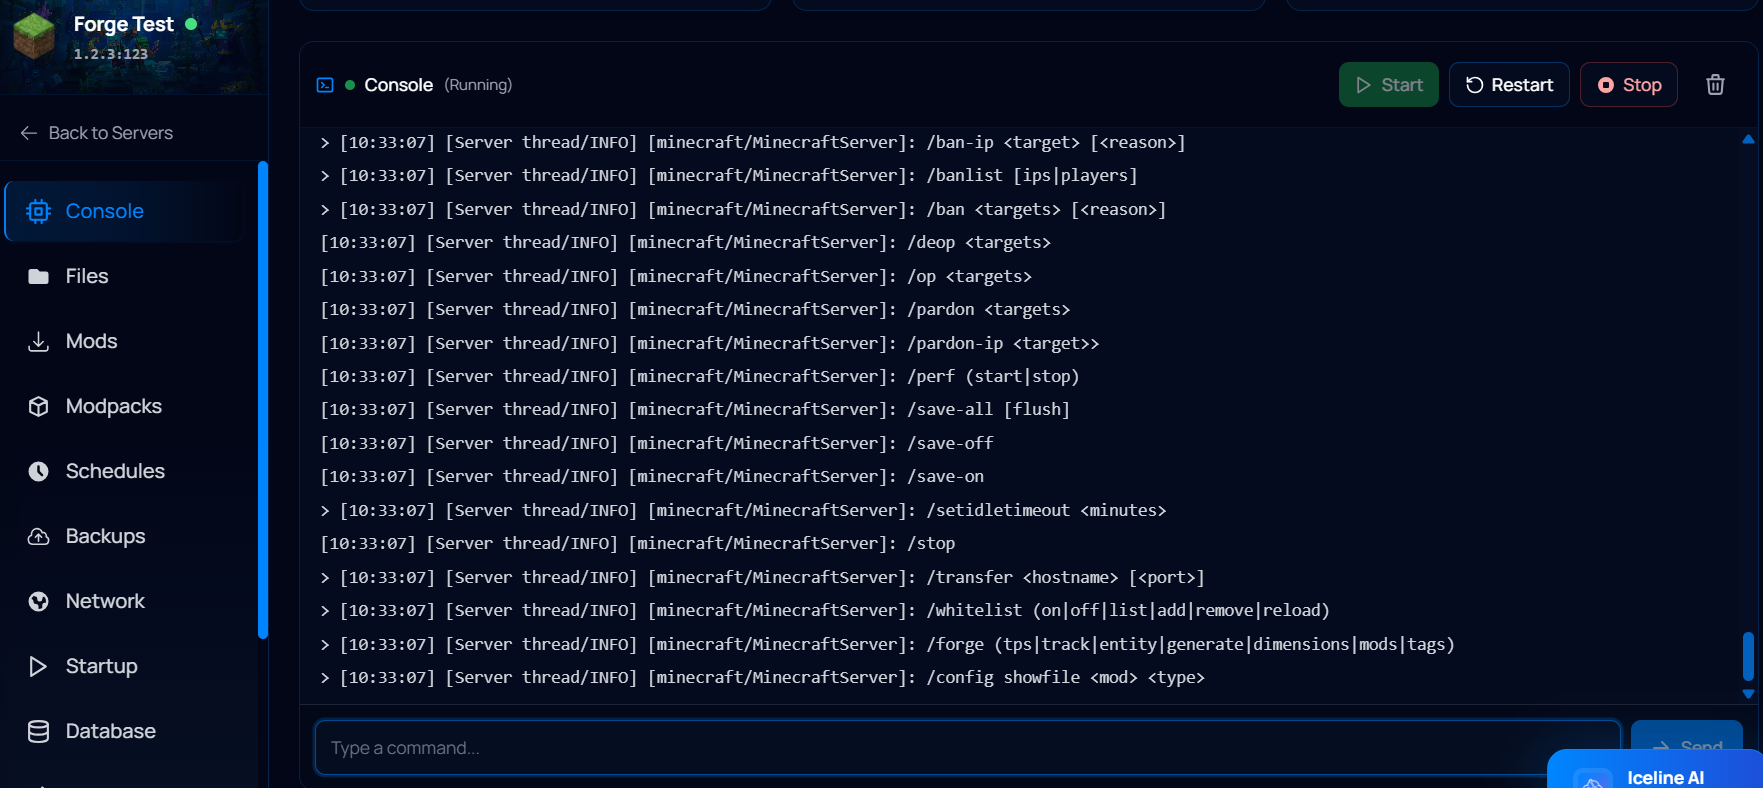
- Go back to the console and start your server.
If you don’t have your own Minecraft server, you can learn more about our Minecraft server hosting services here at Iceline Hosting now.
Installing Forge on your Minecraft Server through Iceline AI
The Iceline AI is a powerful tool included with our game servers that you can use to manage your server. Through a simple conversation, you can ask the AI to make any change for you!
To install Forge on your server, just ask the AI to do it for you! The AI will check the available versions and ask for confirmation, as simple as that!
How to Install Forge manually (For VPS plans)
Before starting, make sure you have a VPS plan with enough specs for the server. You can check our available Game VPS plans here. Additionally, make sure you've downloaded the dependencies, such as Java.
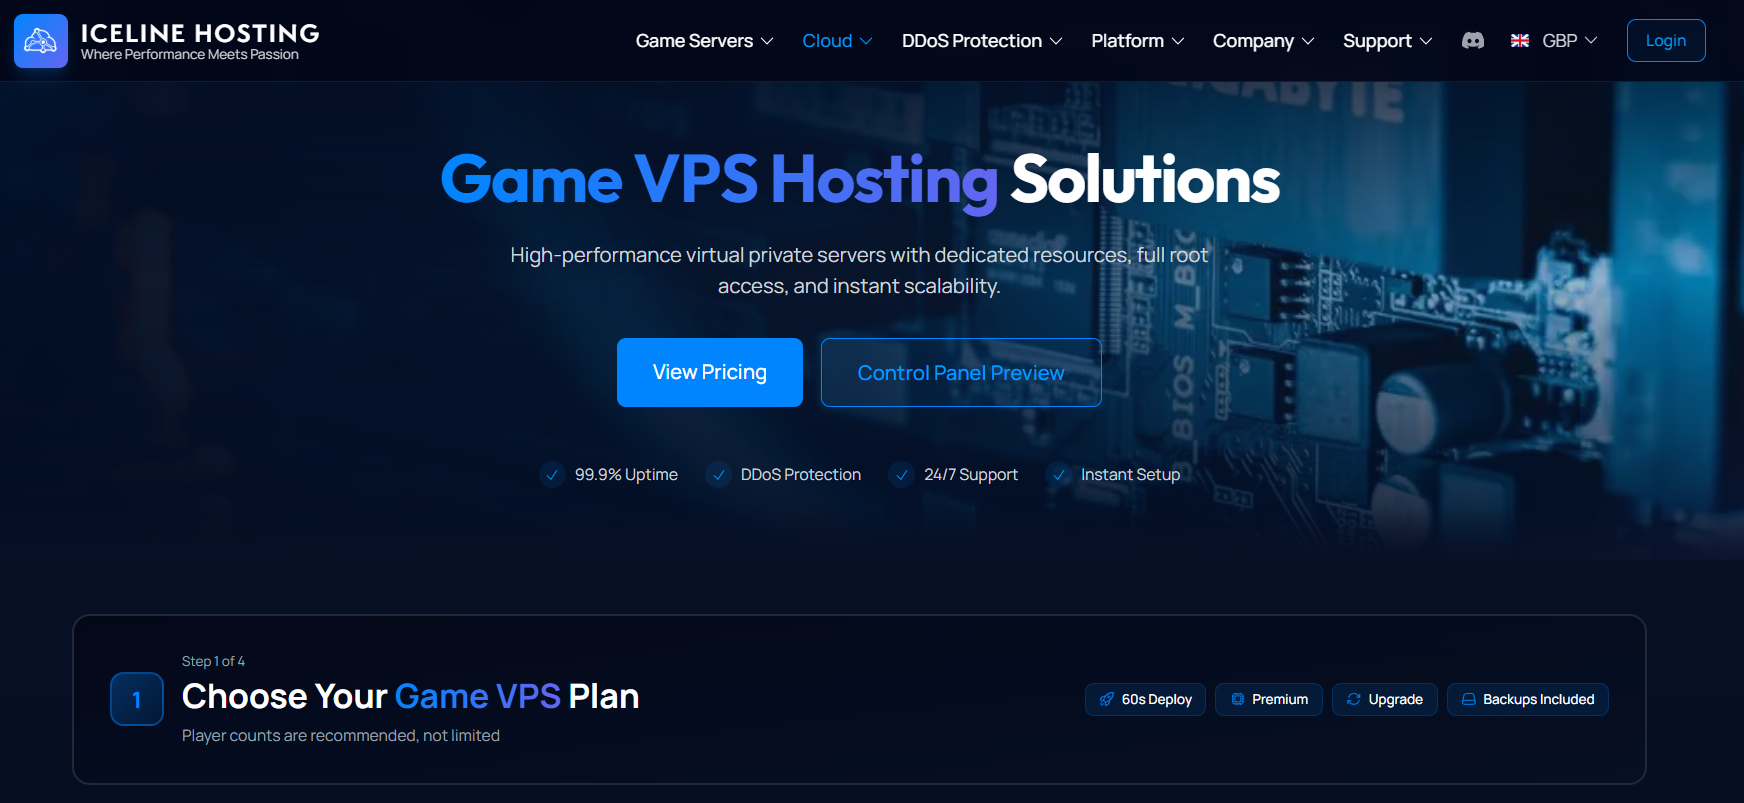
- Access your VPS through the Windows Remote Desktop App.
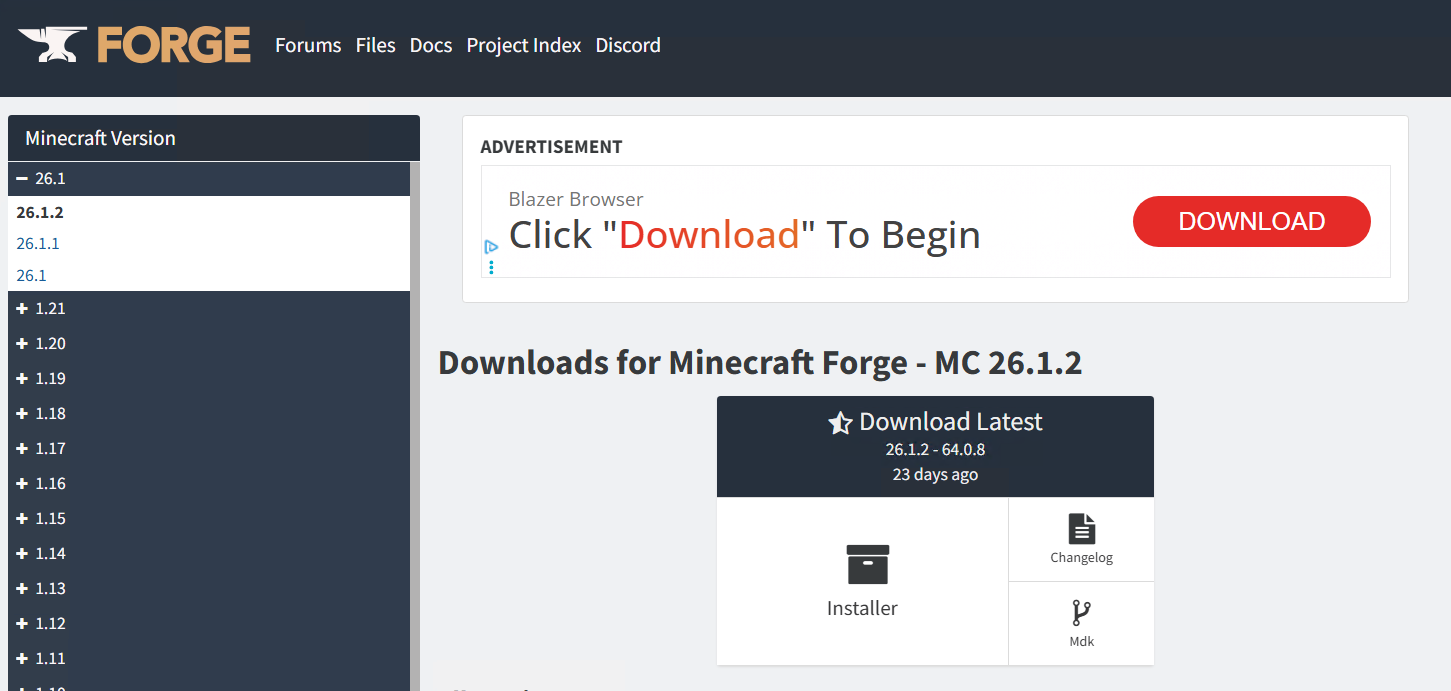
- In your VPS, head to the Forge download website here.
- Find the version of Minecraft you want your server to run, then click on "Installer" to download it. Skip the Ad.
- Make sure you downloaded a valid file; some advertisements may try to make you download the wrong file.
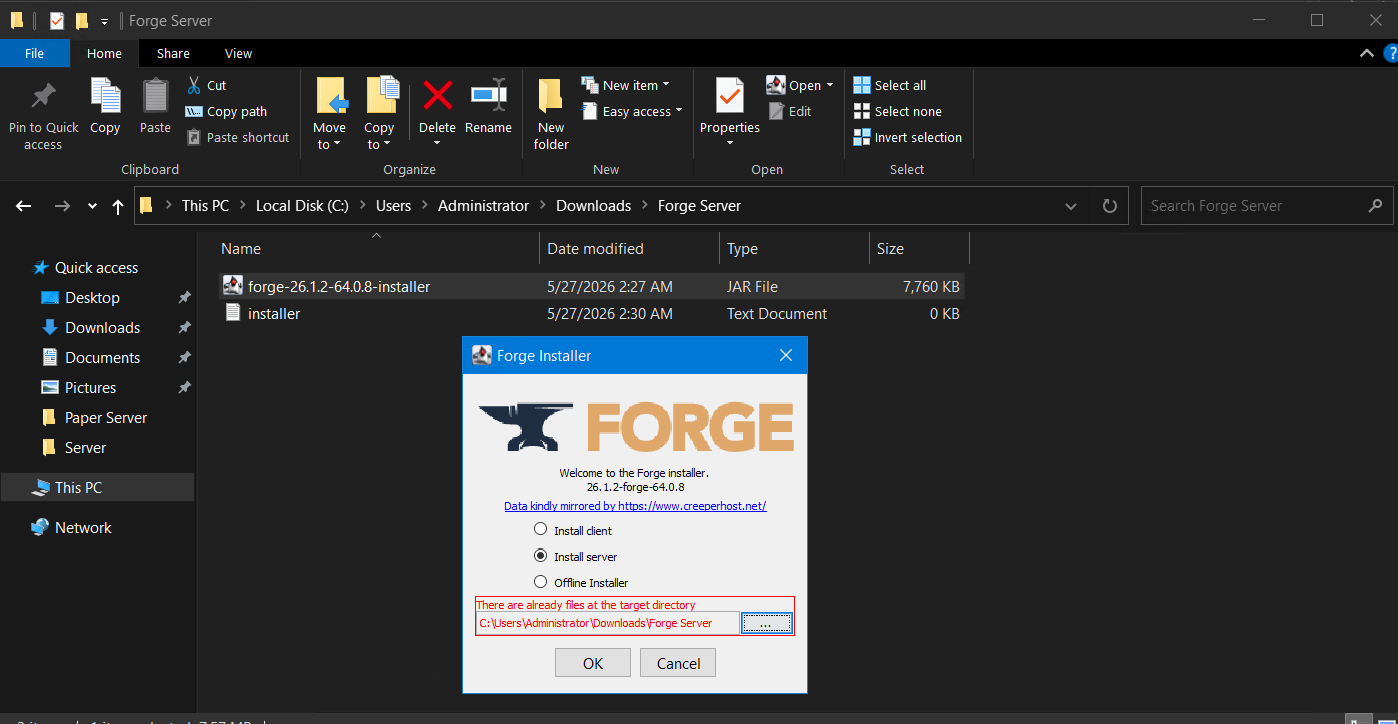
- Create a new folder for your VPS and move the previously downloaded file.
- Double-click on the file to run it. This will open a GUI, select the "Install Server" option.
- Click on the triple dots button and select the folder you previously created.
- Click on "OK" when you're ready to proceed. The server files will be downloaded.
- You can delete the installer after the download finishes.
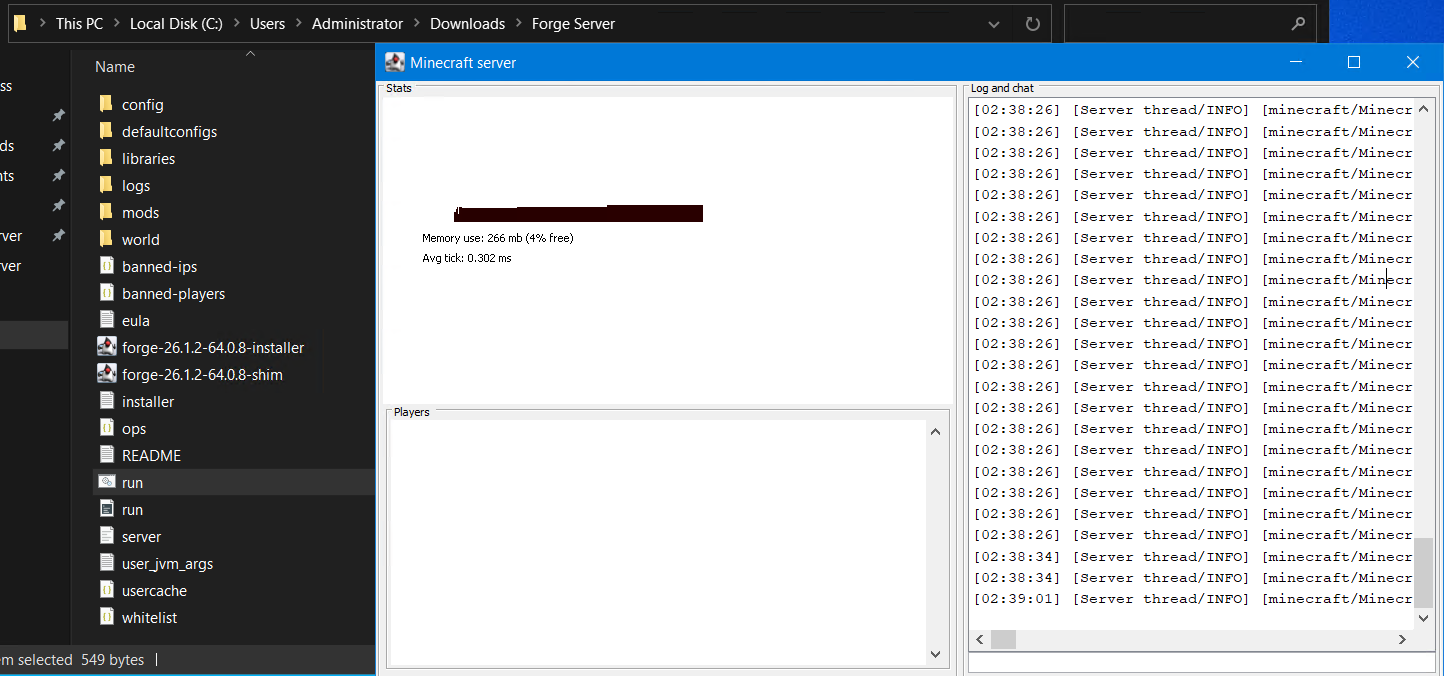
- Double-click on the run.bat file to generate the initial server files (like the eula.txt).
- Open the "eula.txt" file and change its value from "false" to "true.
- Double-click the run.bat file again to generate the remaining server files.
- The server console will show up, and your server will be online!
Note: Make sure to open ports for your Game server (Minecraft uses 25565 TCP by default); otherwise, you won't be able to connect to it.
And that's it! You will be able to use mods on your server now without any problems! For this, you can use the mod installer from the game panel, or you can install the mods manually on your server.
Facing Any Issues?
Check that the installation was completed correctly and that you have accepted Minecraft's EULA. Some mods may be incompatible with some versions and could cause crashes, so check the documentation pages.
If you are still having issues, feel free to contact our support team at Iceline Hosting!